Car Lift Safety: Essential Tips for Home Garage Use
A vehicle lift is one of the safest ways to work under a car -- far safer than jack stands on a concrete floor. But that safety depends entirely on proper use. A lift that is incorrectly loaded, poorly maintained, or operated carelessly is a serious hazard. Vehicles weigh 3,000 to 10,000+ pounds. There is no margin for error.
This guide covers the essential safety practices every home garage lift owner needs to know. Whether you have a BendPak 2-post lift, a QuickJack portable system, or anything in between, these principles apply.
The Golden Rules of Lift Safety
These are the non-negotiable fundamentals. Every lift operation, every time.
1. Always Use the Mechanical Locks
Every quality lift has mechanical safety locks that engage at preset heights. These locks physically prevent the lift from lowering even if the hydraulic system fails completely. They are your ultimate safety net.
Never work under a vehicle that is held by hydraulic pressure alone. Always raise the lift to a lock position and verify the locks are engaged before going under the vehicle.
On a QuickJack, the mechanical locks are built into the frame at the maximum height position. On a 2-post lift, locks engage automatically as the lift rises past each detent position -- you will hear a clicking sound.
2. Verify the Load Before Going Under
After raising the vehicle to your working height:
- Visually check that all arm pads are properly seated on the lift points
- Gently push and pull the vehicle to check stability
- Verify the locks are engaged (you should not be able to lower the lift without manually releasing the locks)
- Look for any signs of instability -- the vehicle should feel solid and immovable
If anything feels off, lower the vehicle and reposition.
3. Never Exceed the Rated Capacity
Every lift has a maximum rated capacity posted on the columns or frame. This number includes the weight of the vehicle plus anything on or in it -- toolboxes in the bed, a loaded cargo area, or a partially filled fuel tank.
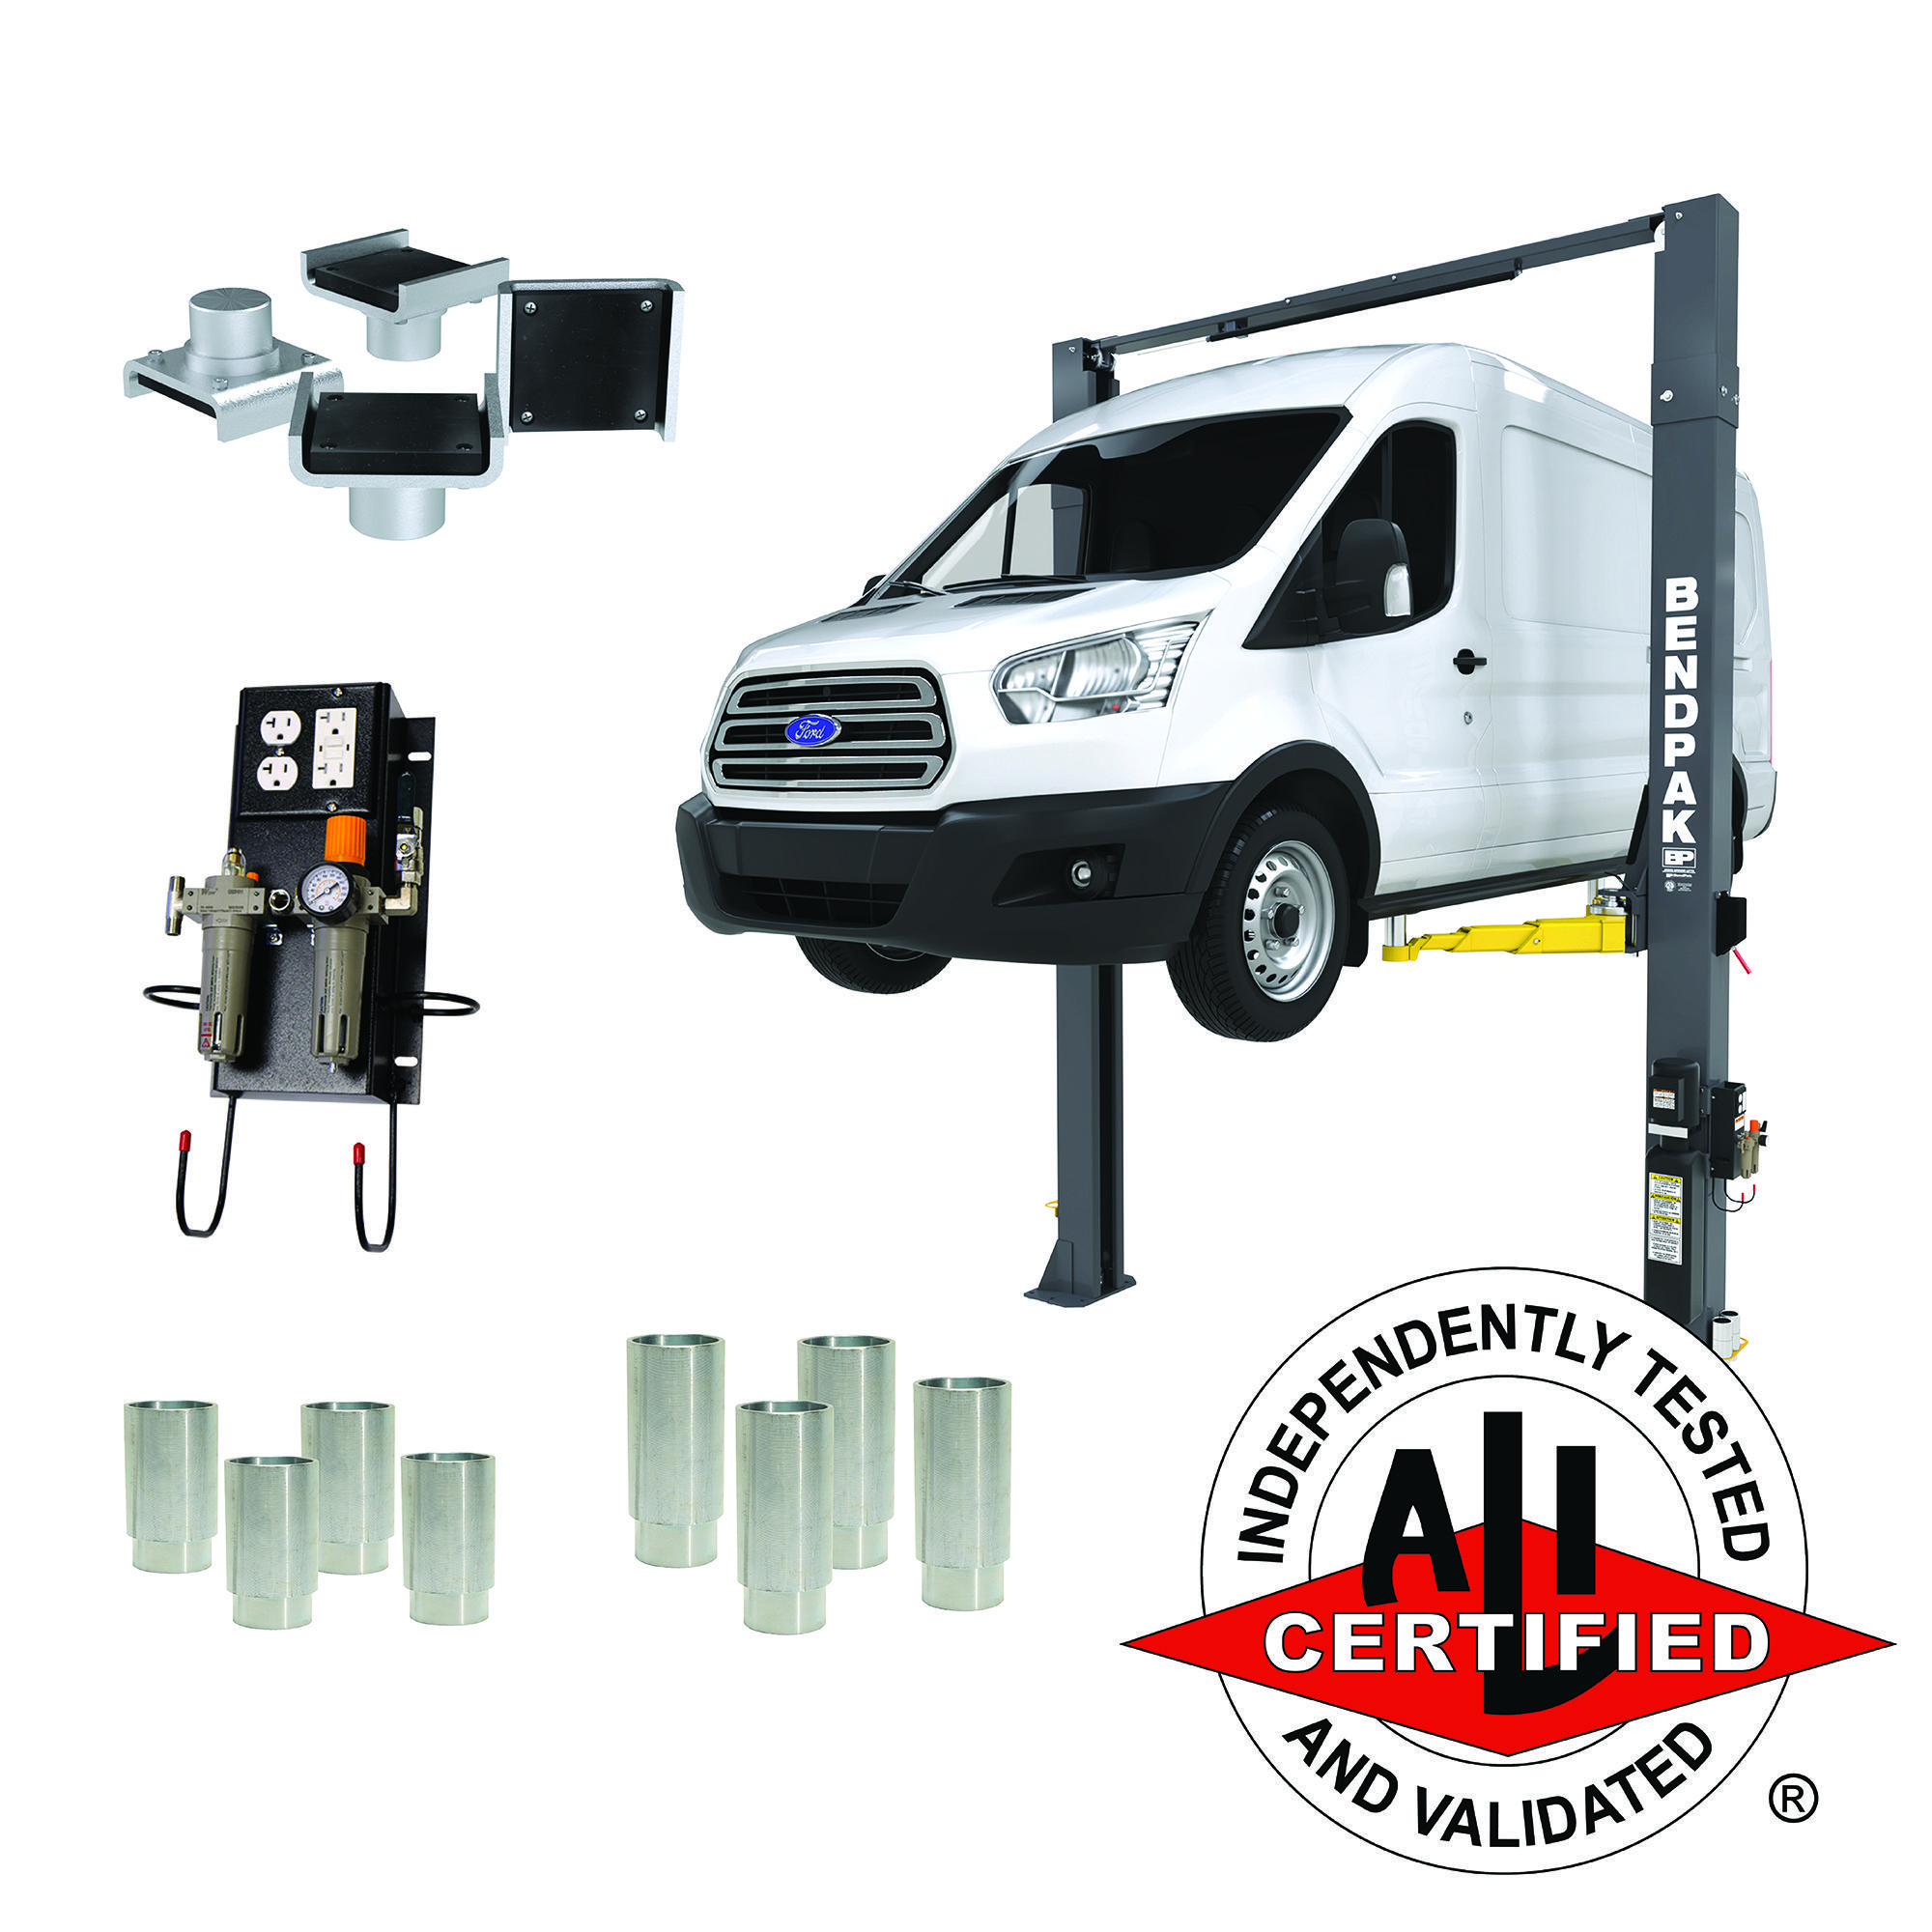
Know the curb weight of your vehicles and compare against your lift's rating. A 10,000-lb lift like the BendPak 10APX-181 handles most passenger vehicles with a wide margin. A 3,500-lb lift like the QuickJack 3500SLX is limited to lighter vehicles.
4. Use the Correct Lift Points
Every vehicle has manufacturer-specified lift points -- reinforced areas of the frame or body designed to support the vehicle's weight. Using incorrect lift points can:
- Crush body panels or rocker panels
- Damage suspension components
- Create an unstable load that can slip off the lift
- Bend or crack structural members
Consult your vehicle's owner's manual for lift point locations. For common vehicles, there are also reference guides available from lift manufacturers and automotive forums.
5. Keep People Clear During Operation
No one should be under or near a vehicle while it is being raised or lowered. The area directly beneath and around the lift is a danger zone during operation. Only enter that zone after the vehicle is raised, locked, and verified stable.
2-Post Lift Safety
2-post lifts like the BendPak 10AP-168 and BendPak HD-9AE require the most operator knowledge because arm positioning is critical.
Arm Positioning
Asymmetric lifts position the vehicle slightly rearward. The two front arms are shorter than the two rear arms. Align the arms so that approximately 40% of the vehicle weight is in front of the columns and 60% behind. This is by design and ensures the vehicle is balanced when the doors open.
Symmetric lifts position the vehicle centered. All four arms are the same length. The center of gravity should be approximately at the column centerline.
Arm Pad Contact
Each arm pad must make full, flat contact with the lift point. Check for:
- Partial contact: The pad is on the edge of the lift point, not centered. This can cause the pad to slip under load.
- Angled contact: The arm is not fully extended or retracted, causing the pad to contact at an angle.
- Wrong location: The pad is on a body panel, exhaust pipe, or other non-structural component.
Raising Procedure
- Position the vehicle between the columns
- Swing all four arms under the vehicle to the correct lift points
- Adjust arm length so pads contact lift points squarely
- Raise the lift a few inches and check all four contact points
- Gently shake the vehicle to verify stability
- Continue raising to the desired working height
- Verify mechanical locks are engaged
- Do a final visual check before going under
Lowering Procedure
- Remove all tools, equipment, and stands from under the vehicle
- Ensure no one is under or near the vehicle
- Release the mechanical locks (pull the release lever or press the electric release button)
- Lower the lift slowly and steadily
- Watch the arms clear the vehicle as it comes down
- Lower completely and swing arms out of the way before driving the vehicle off
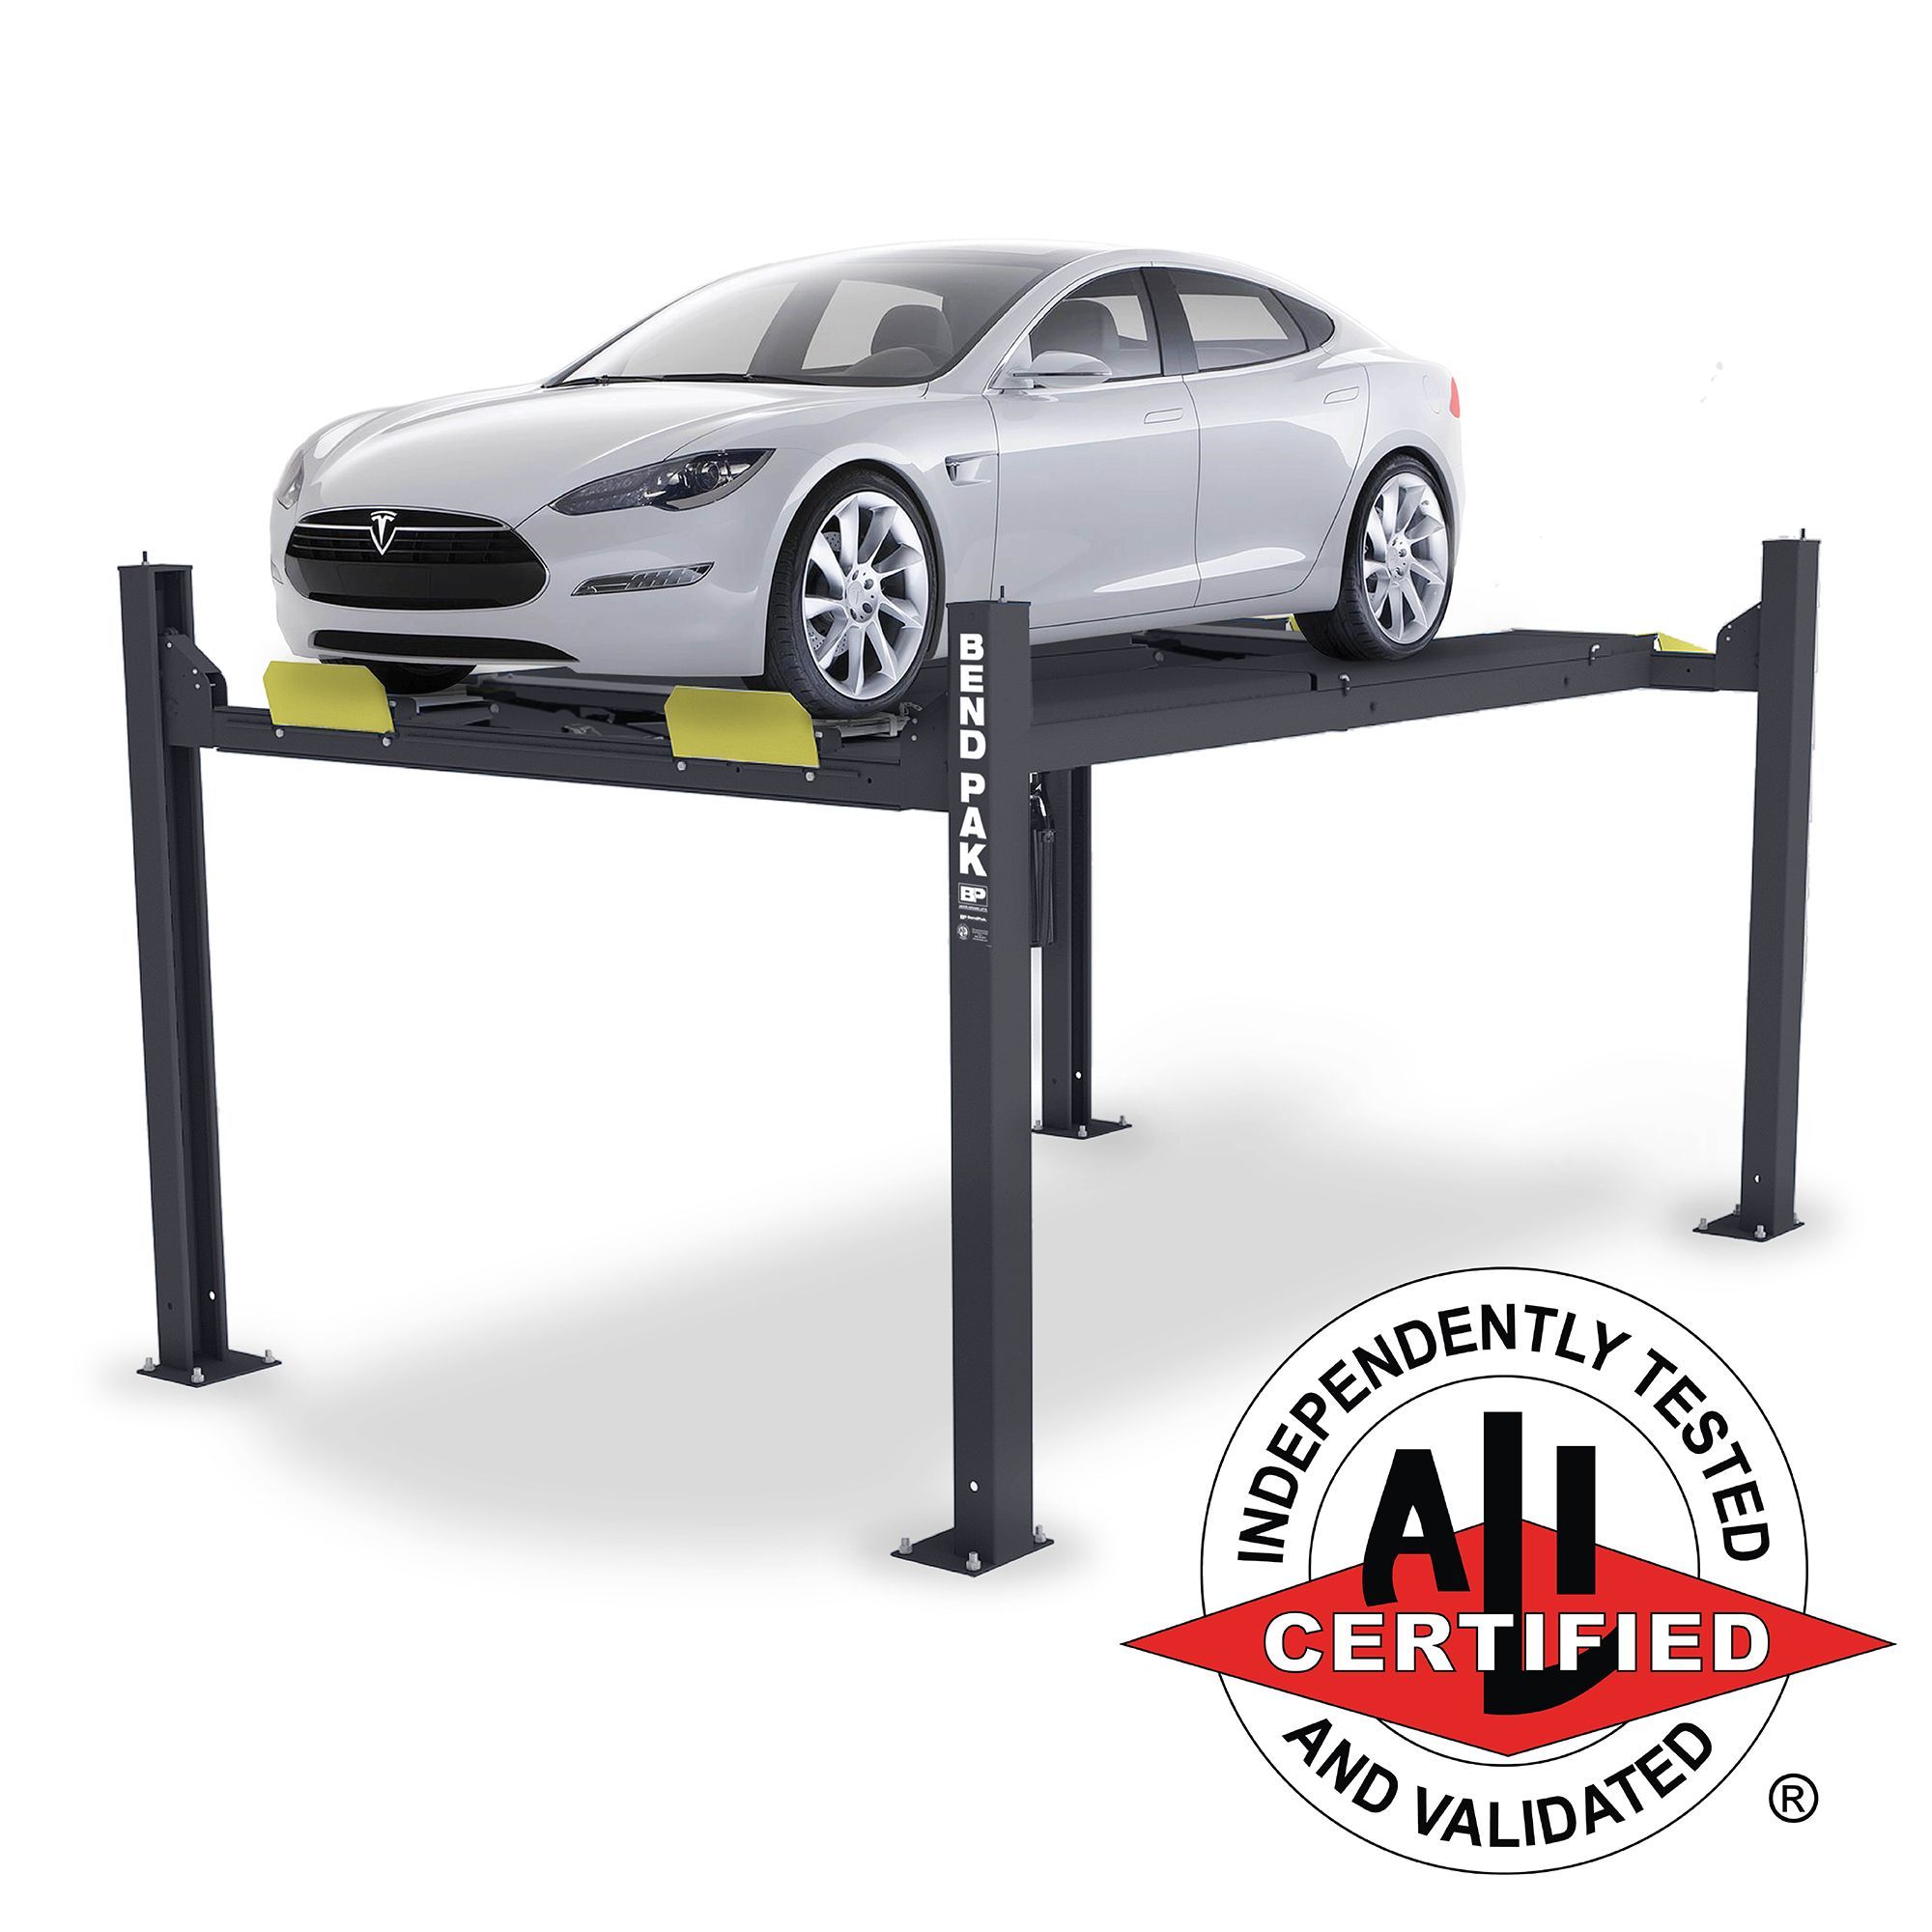
4-Post Lift Safety
4-post lifts are simpler to operate but have their own safety considerations.
Wheel Chocking
After driving onto the runways, always chock the wheels. A vehicle can roll off the runways if not secured, especially when raised. Most 4-post lifts include wheel chocks or restraints.
Bridge Jack Safety
When using rolling bridge jacks (like the Dannmar DJ-4500) for wheel-off service:
- Position bridge jacks at the correct frame lift points
- Raise bridge jacks evenly
- Verify the vehicle is stable on the bridge jacks before removing wheels
- Never rely on bridge jacks alone -- the main lift's mechanical locks should also be engaged
Drive-On and Drive-Off
- Approach the runways straight -- do not angle onto them
- Drive slowly and steadily
- Have a spotter guide you if visibility is limited
- Stop before the rear wheels reach the end of the runways
- Use the mirrors or a spotter when driving off the lowered lift
Portable Lift Safety (QuickJack)
QuickJack lifts like the 7000TL are designed for simplicity, but safety practices still apply.
Surface Requirements
QuickJack must be used on a flat, level, solid surface. Concrete is ideal. Do not use on:
- Asphalt (can indent under load)
- Gravel or dirt
- Wet or icy surfaces
- Slopes or inclines
Frame Positioning
Position the two QuickJack frames so they contact the vehicle's lift points simultaneously. The frames must be parallel and evenly spaced. Verify contact at all four pads before raising.
Lock Bar Engagement
QuickJack frames have mechanical lock bars that engage at full height. Always verify both frames are locked before going under the vehicle.
Wheel Blocks
Since QuickJack raises the vehicle by the frame (wheels stay near ground level), wheel blocks are less critical than with jack stands. However, engaging the parking brake and placing wheel blocks at the non-lifted end is good practice.
MaxJax Safety
The MaxJax M7K operates like a standard 2-post lift. Follow all 2-post lift safety procedures, plus:
Anchor Bolt Inspection
MaxJax uses removable anchors. Inspect anchor bolts before each use:
- Check for looseness (attempt to wiggle the column at the base)
- Look for concrete cracking around anchor points
- Verify all bolts are present and tight
Because MaxJax anchors are designed to be removable, they may be more susceptible to loosening over time than permanent installations. Torque-check monthly.
Daily Pre-Use Inspection
Before using your lift each day, spend 60 seconds on this checklist:
- Visual check of cables (2-post): no fraying, kinking, or visible wear
- Hydraulic fluid level: check the reservoir window
- No fluid leaks: check under the power unit and along hose connections
- Arm pads: intact, not cracked or excessively worn
- Mechanical locks: engage and disengage freely
- Controls: raise and lower buttons function smoothly
- Floor area: clear of tools, debris, and trip hazards
Monthly Maintenance for Safety
Cable Inspection (2-Post Lifts)
Equalization cables ensure both sides of the lift rise evenly. Inspect cables for:
- Fraying: Any visible broken strands mean the cable needs replacement
- Kinks: Sharp bends weaken the cable at that point
- Wear at sheaves: Cables that ride over pulleys wear at the contact points
- Proper tension: Cables should have similar tension on both sides
Cable replacement is a professional service item. Do not attempt to replace cables yourself unless you have specific training.
Hydraulic System
- Check fluid level monthly (top off with manufacturer-specified fluid only)
- Inspect all hoses and fittings for leaks, cracks, or bulging
- Listen for unusual pump noises (grinding, whining, or cavitation sounds)
- Verify smooth, even lift operation without jerking or hesitation
Lubrication
- Apply white lithium grease to arm pivot points monthly
- Lubricate column slides (the tracks the carriage rides on) per manufacturer instructions
- Check and lubricate lock mechanisms
Anchor Bolts
- Visually inspect all anchor bolts for looseness or concrete cracking
- Torque-check bolts quarterly with a calibrated torque wrench
- If any bolt pulls out or the concrete around it deteriorates, stop using the lift and consult a professional
What to Do If Something Goes Wrong
The Lift Will Not Lower
- Stay calm. The vehicle is on mechanical locks and is safe.
- Check the power supply: is the unit plugged in and powered?
- Check the hydraulic fluid level: low fluid can prevent lowering
- Check the lock release: ensure you are fully disengaging the locks
- If the issue persists, contact the manufacturer or a lift service technician
The Vehicle Feels Unstable
- Do not go under the vehicle
- Slowly lower the lift to the ground
- Reposition the arms or pads at the correct lift points
- Raise again and re-verify stability
You Hear a Strange Noise
- Stop the lift operation immediately
- Lower the vehicle if it is safe to do so
- Investigate the noise source: it could be a hydraulic issue, cable issue, or mechanical interference
- Do not use the lift until the noise is identified and resolved
Hydraulic Leak
- Lower the vehicle immediately
- Do not use the lift until the leak is repaired
- Clean up spilled hydraulic fluid (it is slippery)
- Contact a service technician for repair
Buy Safe: What to Look For
When purchasing a lift, insist on these safety certifications:
- ALI (Automotive Lift Institute) Certification: The industry gold standard for lift safety testing
- ETL or UL Listing: Third-party verification of electrical and mechanical safety
- ANSI/ALI ALCTV Compliance: Meets the national safety standard for automotive lifts
All BendPak, QuickJack, MaxJax, and Dannmar lifts carry these certifications. Avoid no-name imported lifts that lack independent safety testing -- the price savings are not worth the risk.
Training Resources
If you are new to lift operation:
- Read the owner's manual completely before first use
- Watch the manufacturer's training videos (BendPak has excellent resources)
- Practice with no vehicle first -- run the lift through its full range of motion
- Start with a lightweight vehicle to build confidence
- Have an experienced user walk you through the first few operations if possible
Final Thought
A vehicle lift is an incredibly safe piece of equipment when used correctly. BendPak and QuickJack lifts are engineered with multiple redundant safety systems. The most common cause of lift accidents is operator error -- skipping the locks, using wrong lift points, or exceeding capacity. Follow the practices in this guide, maintain your equipment, and respect the forces involved. The lift will serve you safely for decades.
Browse our complete selection of safety-certified lifts: BendPak, QuickJack, MaxJax, and Dannmar. For help choosing the right lift, read our Best Car Lifts for Your Home Garage guide.