How to Install a Car Lift in Your Home Garage
A two-post lift install takes one long day if your garage is ready and three frustrating weekends if it isn't. The bolting and cabling are the easy part. What decides how the day goes is everything you check before the freight truck shows up.
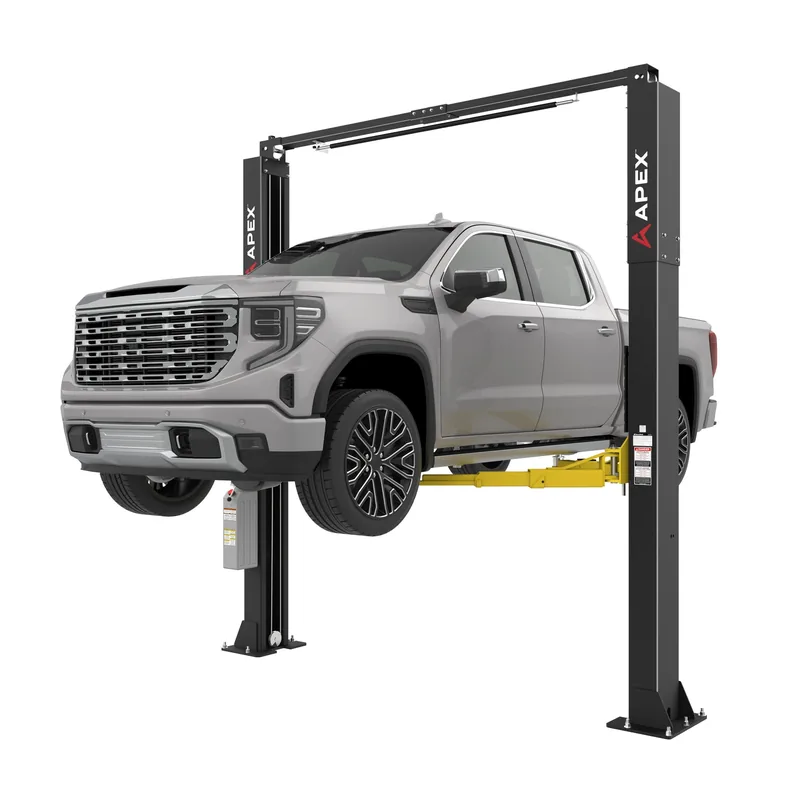
We'll walk through the whole job in the order it actually happens, using the APEX AL10C as the example. It's a 10,000-lb clearfloor two-post at $4,195, and it's the lift we point most first-time home buyers toward when the budget is real and the garage has a decent ceiling. The steps below follow its installation manual, but the process is close to identical on any BendPak or APEX two-post.
Before you order: three measurements that decide everything
Get a tape measure and a ladder. Ten minutes now saves you from owning a 1,500-lb lift that doesn't fit.
Ceiling height. The AL10C stands 148 inches tall overall, about 12 feet 4 inches, and the overhead safety shutoff bar sits at 142.5 inches. The manual also wants at least 1 inch of clearance above the cylinders. Measure to the lowest thing in the bay, not the drywall. That's usually the garage door track, the opener rail or a light fixture. If you come up short, the APEX AL9LC floorplate lift is only 109.5 inches tall because its hoses and cables run across the floor instead of overhead. Our garage ceiling height guide covers the door track workarounds.
Width. Outside the columns, the AL10C measures 128.5 inches. Add room to walk around both posts and open a door, and you want roughly 12 feet of usable width for the bay.
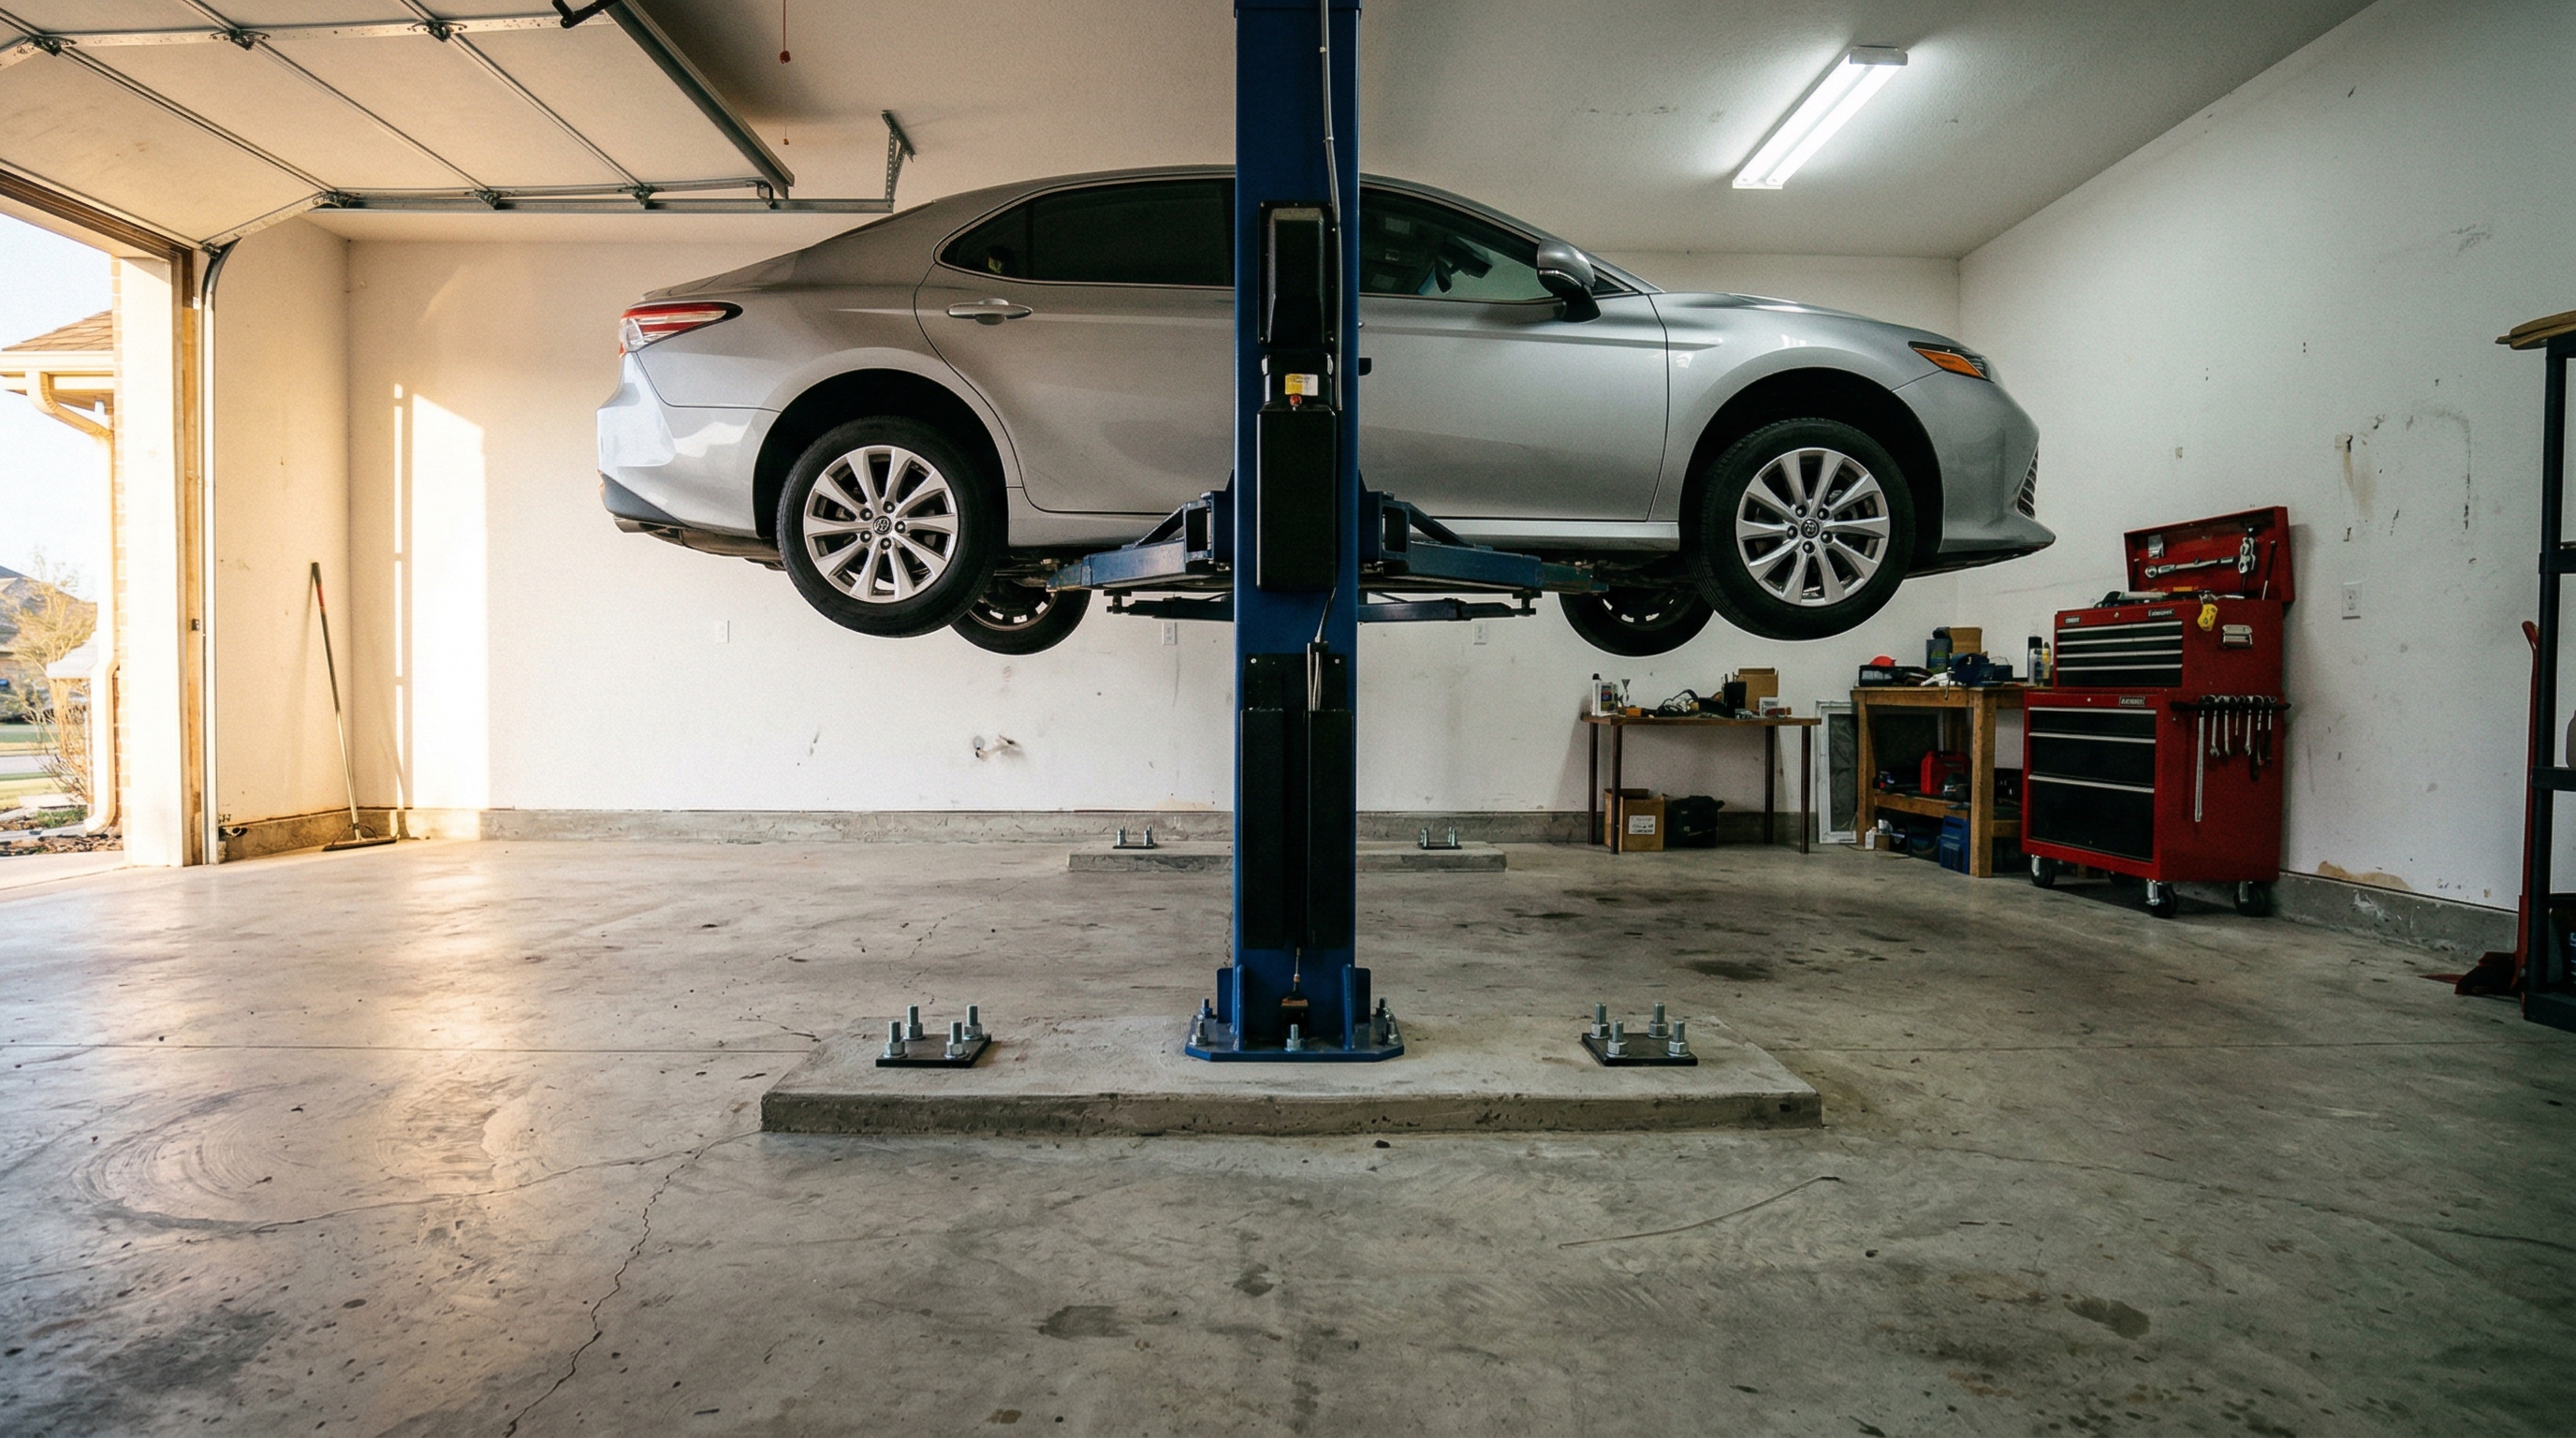
The slab. This is the one people skip. Minimum 4.25 inches of steel-reinforced concrete at 3,000 PSI, cured at least 28 days. No anchor closer than 6 inches to a crack, an expansion joint or a wall. Drill a 3/4-inch test hole where a post will sit and measure the depth with a wire. If you get less than 4.25 inches, stop and read our concrete floor requirements before you go any further.
The floor also has to be level. APEX's limit is 3/8 inch of difference across the whole install area.
Delivery day is its own project
Nobody warns you about this part.
The AL10C ships on a flatbed at 1,536 lbs, packed in a crate around 114 inches long. The driver's job is to get it to the tailgate. Getting it onto your driveway is your job, and the spec sheet lists the offload requirement plainly: forklift. Plenty of home buyers rent a telehandler for the morning or call a local equipment rental yard. Others unpack the crate on the truck and slide the components off one at a time with a group of friends, which works but makes for a long afternoon.
Have the crate land as close to the garage door as you can. You do not want to move those columns across a lawn.
Tools and supplies you'll need
The manual's list is longer than most people expect. The ones that matter:
- Rotary hammer drill with a 3/4-inch carbide bit (ANSI B212.15)
- Torque wrench that reaches at least 95 ft-lbs
- 4-foot level, plumb bob, chalk line and a 25-foot tape
- Forklift or shop crane to stand the columns up
- Two 12-foot ladders and four sawhorses
- Full SAE and metric socket and wrench sets, plus hex keys and circlip pliers
- 3.2 gallons of hydraulic fluid (any ISO-32, ISO-46 or ISO-68 hydraulic oil, or an approved ATF like Dexron VI)
- White lithium spray, red lithium grease and wire rope lubricant
The fluid doesn't come in the box. Buy it before install day.
And line up at least one helper. Two is better. A column is heavy, and it gets top-heavy the second it leaves the sawhorses.
The install, step by step
Here's the sequence from the AL10C manual, compressed into what you'll actually be doing.
1. Pick the approach and snap your lines
Decide which way you'll drive in. In most home garages that's obvious: driveway side is the approach, back wall is the front of the lift. Then snap chalk lines on the floor for the post base plates, measured off the manual's layout diagram. Measure twice. Once you drill, the posts live there forever.
2. Stand the posts and drill
Raise each post with the forklift or crane and set it on its chalk marks. Drill through the base plate holes with the 3/4-inch bit, and don't go all the way through the slab. Blow the dust out of every hole. The anchor's grip depends on its expansion sleeve pressing against clean concrete, so a dusty hole is a weak hole.
3. Anchor, plumb and shim
Tap the anchor bolts in with the washer and nut already threaded on. They'll stop partway. That's normal. Hammer them home, then plumb each post with the plumb bob. Shim where needed, but never more than 1/2 inch. If a post needs more than that, the floor is the problem, and the fix is a new concrete pad, not a stack of shims.
Torque the anchors to 85-95 ft-lbs. Use only the anchor bolts that ship with the lift.
4. Overhead beam and shutoff bar
This is where the two ladders earn their keep. The overhead assembly bolts across the top of both posts with M12 hardware torqued to 60 ft-lbs, and the padded safety shutoff bar hangs underneath it. That bar trips a limit switch and kills the motor if a tall vehicle gets too close to the top. Don't skip it, and don't mount it high to buy yourself an extra inch.
5. Cables, hoses and the power unit
Route the equalizer cables over their sheaves and connect them to both carriages. They're what keep the two sides rising together. Then mount the power unit on its post, run the hydraulic hoses and check every fitting twice. Fill the reservoir. Do not connect power yet.
6. Arms and final leveling
Slide each arm into its carriage, line up the gear on the arm with the restraint gear, and pin it. Then do a final check. Both posts plumb, base plates tight, and the A and B diagonal measurements equal. If they aren't, shim until they are.
Call the electrician
So far you could do all of it yourself.
Now you can't. The AL10C manual is blunt: a licensed electrician handles the limit switch wiring, the power unit hookup and the power disconnect switch. The AL10C runs on 208-230V single-phase, and APEX specifies a 25-amp time-delay fuse or breaker for that circuit. Many homes don't have a spare 220V circuit in the garage, so book this early. Our car lift electrical requirements post covers wire gauge and what to tell the electrician.
The first lift
Run it empty first. Raise the carriages a few feet, lower them, and repeat. Then put a typical vehicle on it and do it several more times. That works the leftover air out of the hydraulic system.
Listen as it climbs. You should hear a distinct thump from each post as the safety locks pass each position, every 3 inches on the AL10C, and the thumps from both sides should come close together. If one side lags or the arms shudder, bleed the cylinders: raise the heads 6 inches, crack the bleeder valve at the top of each cylinder until fluid replaces air, and close it.
Always lower onto the locks before you walk under the car. Every time. Our car lift safety guide has the full routine.
DIY or hire a pro
Here's our honest take. If you've done real mechanical work, own or can rent a hammer drill and lifting equipment, and have two capable helpers, a DIY two-post install is very doable in a day. The manual is clear and the steps are logical.
But most people should hire it out. A pro installer has done hundreds of these, owns the drill and the crane, and knows a bad slab on sight. Installers commonly quote $500 to $1,500 for a standard two-post, which is a small slice of the total when you're putting a car 6 feet over your head. We break down the full budget, including concrete and wiring, in how much a car lift costs.
If anchoring isn't an option at all, maybe a rental or a slab you can't drill, look at a four-post like the BendPak HD-9. It's freestanding in most home setups, so the install is mostly assembly.
Why the AL10C makes a good first install
It's a straightforward lift to put in. Direct-drive hydraulics with dual full-stroke cylinders mean fewer moving parts to set up and adjust. The clearfloor design leaves nothing on the floor between the posts to trip over or roll across, and the arms run symmetric or asymmetric depending on what you're lifting.
The working numbers are solid for a home shop: 10,000 lbs of capacity, 2,500 lbs per arm, 76.5 inches of max lift height with the pads, and a 3.9-inch minimum pick-up height that slides under most lowered cars. Lifting time is 65 seconds. Triple-telescoping front arms reach 22.5 to 43.25 inches and the rear arms reach up to 53.25 inches, which covers everything from a compact to a half-ton pickup.
It used to be sold as the GrandPrix model before joining the APEX line, and it carries BendPak's 36-month limited warranty. At $4,195 with free shipping, it's about $1,900 less than a BendPak 10AP. You give up the premium finish and some of BendPak's extras. For a home garage, that's a trade we'd make.
Check your ceiling, drill your test hole, and then take a look at the APEX AL10C or the rest of the APEX lineup. Want to see how it fits before you commit? Drop it into your bay in the Dream Garage Builder.